tips & trends
Fall Back in Love with Your Nails: 7 Valentine's Day Nail Designs You'll Adore
Valentine’s Day is the global celebration of romance – traditionally linked to grand gestures, steak dinners, and candlelit plans. But over time, the meaning of the day has grown into something much more personal. It’s become a celebration of love in all its forms – romantic, platonic, and – most importantly – the kind you choose for yourself.
Love isn’t just about the flowers or the reservations – it’s in the rituals that help you romanticise your everyday and feel a little more like you. That’s exactly why, this February, we’re celebrating Valentine’s Day nails as a simple, stylish form of self-expression – a way to reflect your mood, your style, and your own version of the season.
At essie, nail polish is our love language, so read on. Below, we’re sharing seven Valentine’s Day nail designs (from bold, romantic reds to minimal heart nail designs) to play Cupid to your cuticles – and allow you to fall back in love with your nails this February.
1. Classic red Valentine’s Day nails
When it comes to Valentine’s Day nails, you can’t go wrong with a classic red.
Crimson is, after all, the colour of passion and love – what better way to capture the season?
To create this look:
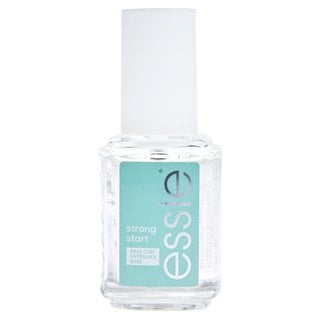
- Start strong with our strong start base coat
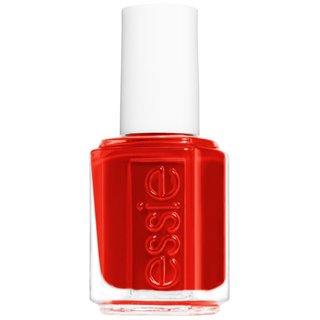
- Paint on your favourite red. (Go for really red if you want a bold, vibrant colour that looks instantly polished, or – if you’re after something richer – fishnet stockings delivers a deeper, wine-toned red.)
- Apply two to three coats, depending on how solid you like your colour.
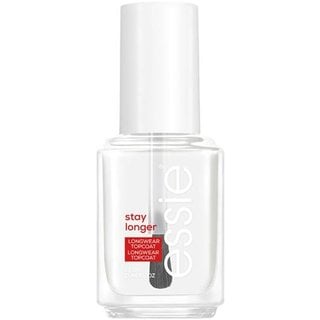
- Lock it all in with stay longer top coat for long-lasting shine.
Pro tip: Your situationship may have left before Valentine’s Day, but your manicure shouldn’t. Reapply our quick-e fast-drying drops to protect your colour from chips and help your nail polish last longer.
2. Soft pink and blush Valentine’s nails
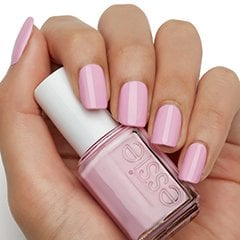
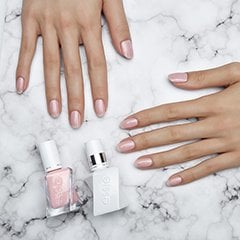
Pink nails feel instantly romantic because they mimic that natural flush you get in your cheeks when you’re happy, excited… or just a little bit flustered.
To create this Valentine’s nail design:
- Apply a base coat of all in one.
- Paint on a sheer layer of muchi, muchi as your soft pink base.
- While it’s still slightly wet, dab a blush pink shade like lovie dovie into the centre of each nail.
- Use your polish brush (or a makeup sponge) to gently tap the colour outwards, blending the edges to create that soft “blushed” effect.
- Seal everything in with a glossy top coat.
Pro tip: If you want your “blushed” look to stay subtle, start with less colour in the centre, then build it up slowly.
3. Minimal heart nail designs
A tried-and-true Valentine’s Day nails classic.
Predictable? Maybe. Cute? Absolutely!
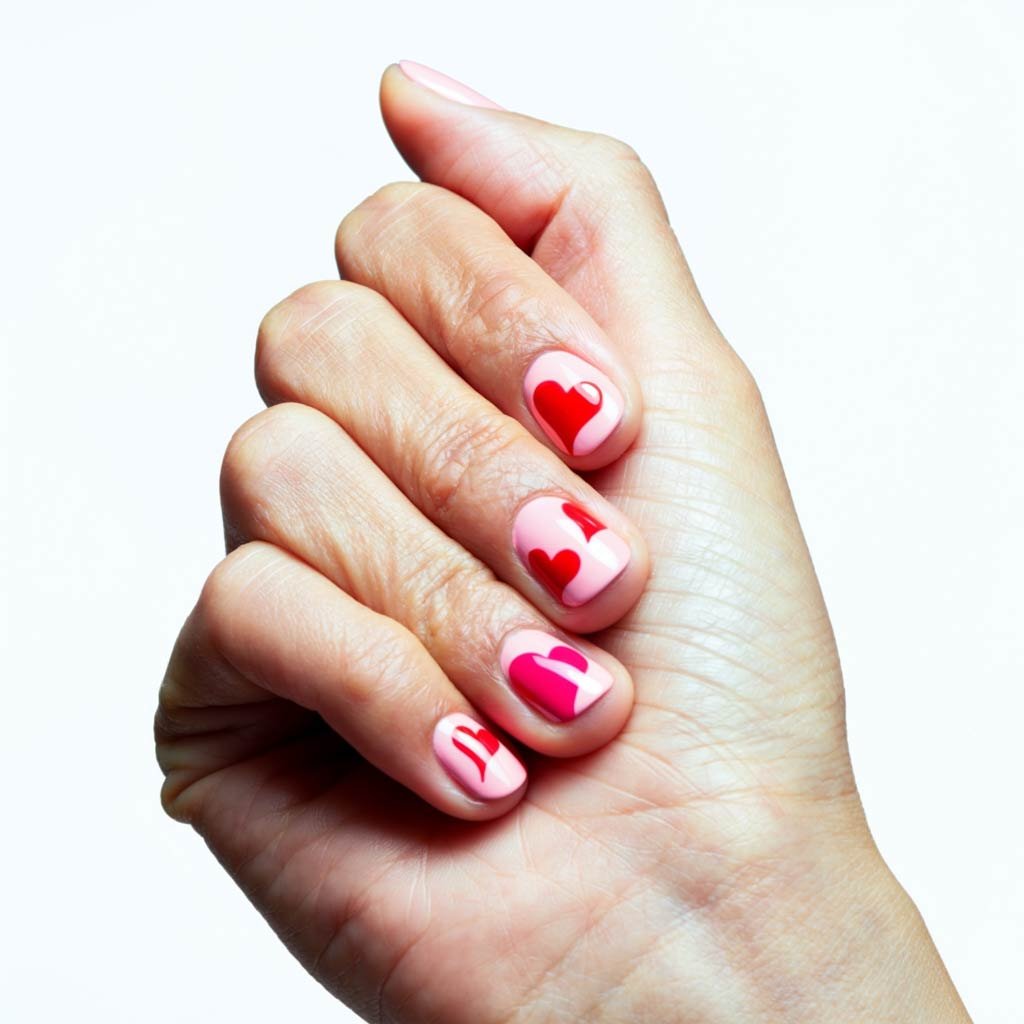
We’ve seen heart nail designs pop up everywhere – from summer nail colours to winter nail styles – and for good reason. Not only are they a simple detail that instantly makes a manicure feel more personal, but they’re also adaptable – you can keep it minimal with a tiny heart on one nail or play with colour and placement for something a little more fun.
If you’re starting out, try this simple heart nail design:
- Start with a base coat.
- Apply two to three coats of blanc for a crisp, solid white base.
- Choose your heart colour – fifth avenue offers a pop of orangey red, while bachelorette bash adds a fun, flirty twist.
- Using a small brush, place two tiny dots close together.
- Drag the polish down from each dot, letting the lines meet at the bottom to form a heart shape.
- Repeat and make the hearts as small or as bold as you like.
- Finish with a top coat to seal everything in.
Pro tip: No nail brush? A toothpick or the rounded end of a bobby pin works perfectly for making tiny hearts.
4. French tip Valentine nails – reinvented
No one does love quite like the French – so a French tip feels perfect for Valentine’s Day nails. But for a fun, modern twist, swap the traditional white tip for something more playful, like a mid-tone pink with Pinky Ring, or a striking scarlet red like rock the runway!
Then, simply create a classic French tip:
- Apply a base coat.
- Paint on a nude nail base (such as our spin the bottle).
- Using a nail brush, paint the tips with your chosen colour.
- Create a soft “smile line” across the tip.
- Fill in the tip area, and smooth out the edges.
- Finish with our gel couture top coat for a glossy, long-lasting result.
Pro tip: If your nails are feeling a little damaged, you don’t have to miss out on cute Valentine’s Day nails. Use our hard to resist nail strengthener (with a soft pink tint) as your base – it’s formulated with nail bonding ingredients to help create a protective layer around your nails.
5. Dark cherry coded Valentine’s nails
If classic red feels a little too expected, dark cherry is a moodier upgrade – still romantic, just with more edge. It’s giving late-night plans, bold confidence, and the perfect dose of drama.
To create this dark cherry Valentine nail idea, follow these steps:
- Start with a base coat.
- Apply a deep berry shade like wicked – our rich, dark red that feels instantly elevated.
- Layer three to four coats, depending on how deep you want the colour to look.
- Finish with a top coat to seal everything in and add shine.
Pro tip: Want to make it feel a little more extra? Finish with one light coat of misfit right in for a soft touch of bronze shimmer.
6. Striped Valentine’s nails
The striped Valentine nail design is quickly gaining traction. This cool-girl-next-door look feels haute couture, but it’s still super easy to recreate – even if you’re new to the world of nail art.
Striped nails work by contrasting two colours across the nail. We love pairing a juicy red, like our watermelon, with a softer, creamy pastel pink (try fiji for a Valentine’s-ready twist!).
To create the striped Valentine nail design:
- Apply a base coat.
- Using a thin nail brush, paint your first colour in stripes, starting from the centre of the nail and working outwards.
- Add your contrasting colour, choosing either vertical or horizontal stripes depending on the look you’re after.
- Finish with a top coat to seal everything in and smooth the design.
Pro tip: For cleaner, straighter lines, place thin strips of tape on the nail before painting. Peel the tape away while the polish is still slightly wet for crisp edges.
7. Nourishing Valentine’s Day nail care
Last – but definitely not least – we have to remember that Valentine’s Day isn’t just about loving others…it’s also a moment to slow down and turn that love inward.
Sometimes, self-love isn’t about adding more polish or designs – it’s about making a small commitment to care. And why shouldn’t this start with your nails?
Between UV gel damage, frequent polish changes, and everyday wear and tear, your nails can start to feel a little neglected. This is where a nourishing nail care routine helps reset everything – giving your nails a fresh, cared-for look that still feels polished and intentional.
To create a Valentine’s nail care routine:
- Start by filing and trimming your nails.
- Apply two to three layers of to the rescue uv gel damage repair, formulated with an advanced three-protein blend that absorbs into the nail to improve the look of damage, while leaving a glossy finish.
- Leave this nail treatment on for five days and reapply if necessary.
Pro tip: Use our apricot cuticle & nail oil regularly to keep your nails conditioned, reduce chipping, and add a natural-looking shine.
You’ve sorted your Valentine’s nail designs for your fingers – now, it’s time to show your toes a little love. Step into Valentine’s Day with the perfect pedicure to match.