tips & trends
How to Repair UV Gel Damage to Nails: 6 Safe, Simple Tips
A fresh set of UV gel nails can make you feel instantly put-together.
But once the nail polish comes off, you might notice your natural nails looking a little less…well...polished! That’s because the process of applying and removing gel can take a visible toll over time – but what can you do about it?
Read on as we break down what causes this damage and how to repair nails after gel using a few simple tips and our nail care essentials.
Why nails can feel weakened after gel
While UV lamps help polish dry to that flawless finish, the UVA rays they emit can quietly contribute to UV gel damage – affecting nail keratin (which gives nails structure) and collagen in the surrounding skin. This can leave nails looking brittle, and the skin around them feeling delicate.
Beyond UV exposure, the application and removal process can also alter how your nails look and feel – and repeated buffing, soaking, and peeling may leave the surface appearing thinner or more uneven. Most visible UV gel damage and wear tends to come from:
- Over-buffing that thins the nail surface
- Peeling or picking that removes protective layers
- Acetone, which draws moisture from the nail bed
Together, these factors can leave your nails appearing fragile – a sign that it’s time to pause, rehydrate, and give them a chance to recover.
How to repair nails after gel: 6 aftercare tips
The good news is, with a few weeks of focused care, your nails can bounce back fast!
Below, we’re sharing six simple tips on how to repair nails after gel damage – so you can return to your UV gel nails in no time.
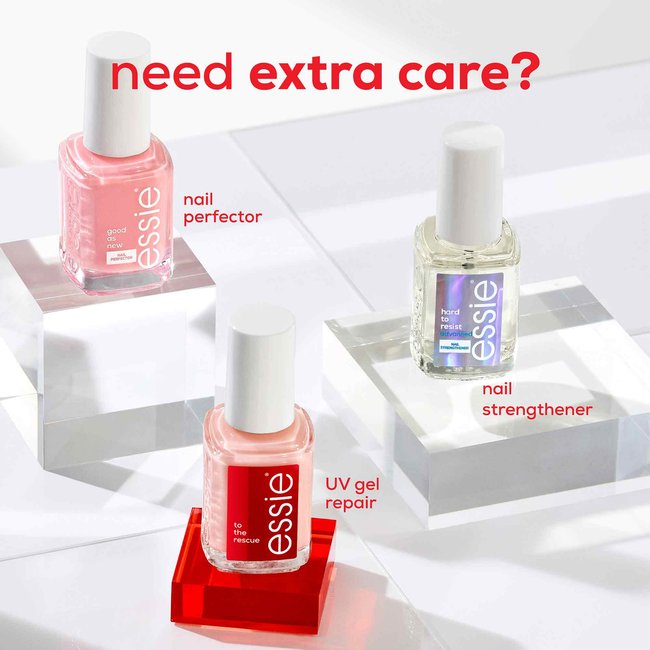
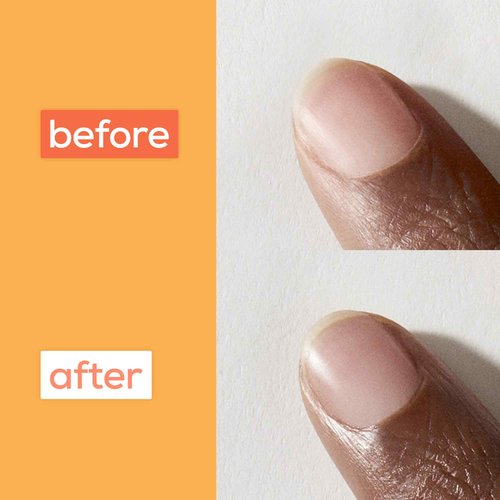
Tip 1: Reset with a UV gel damage repair polish
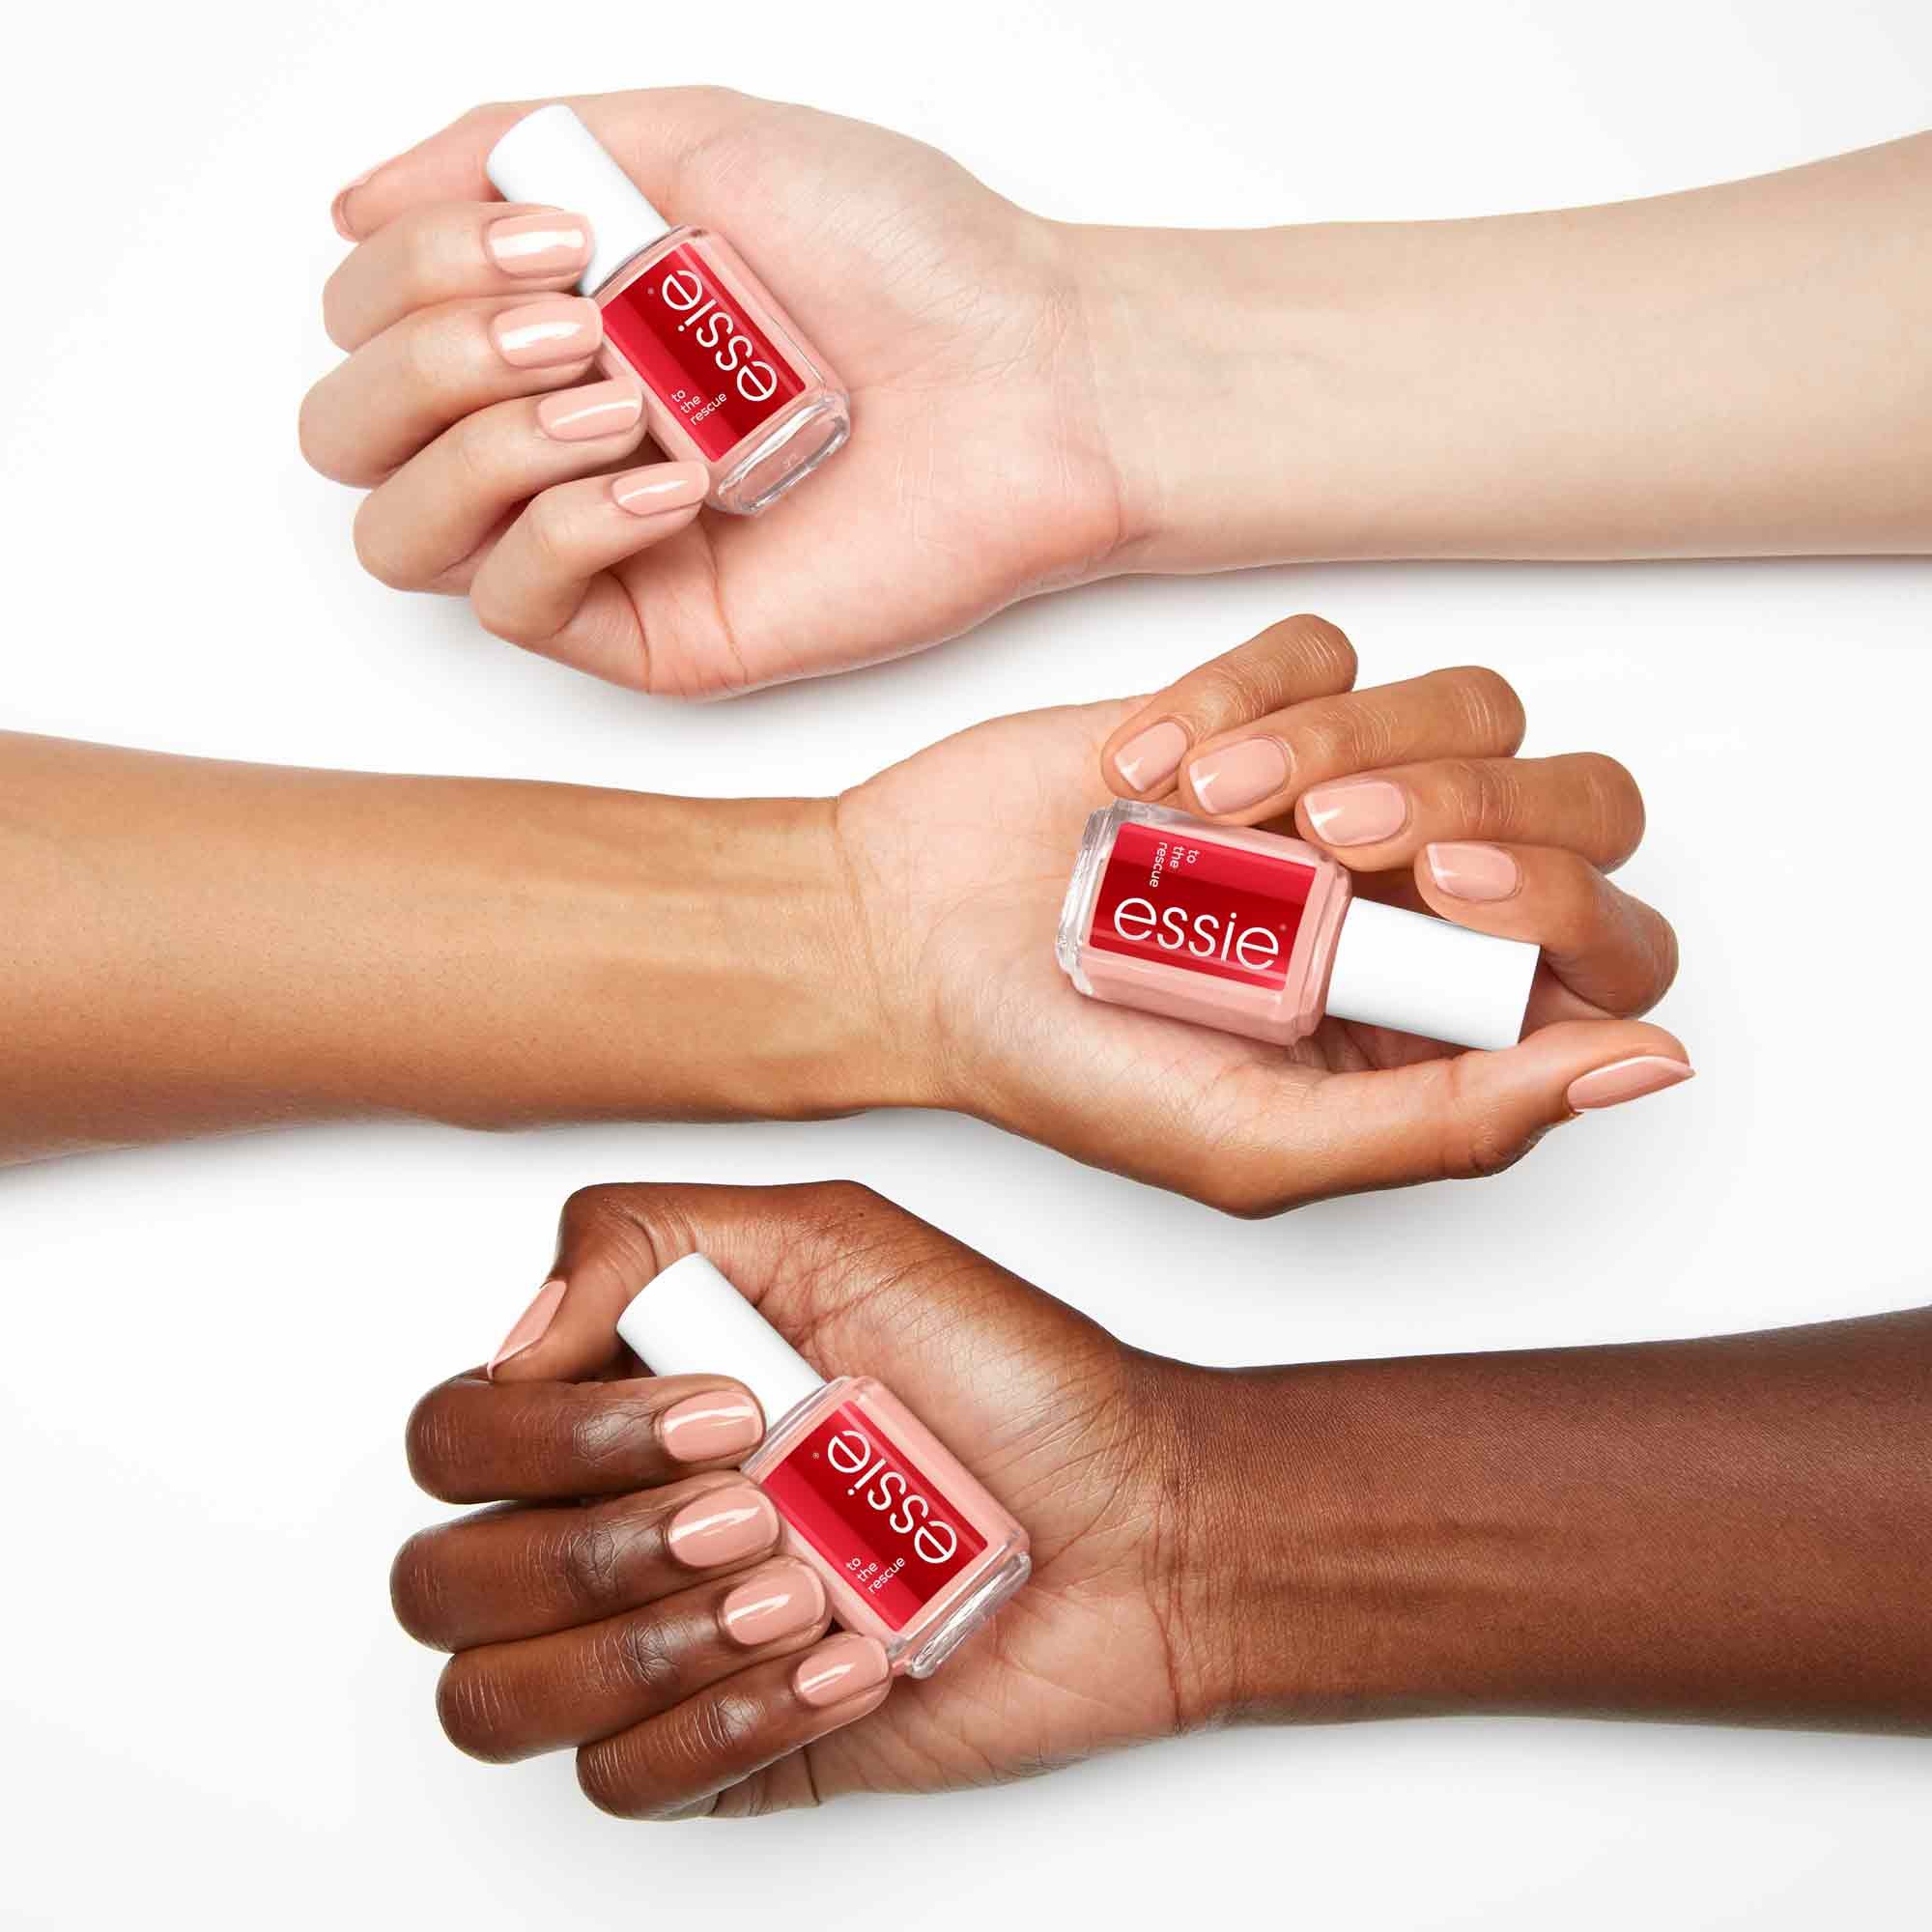
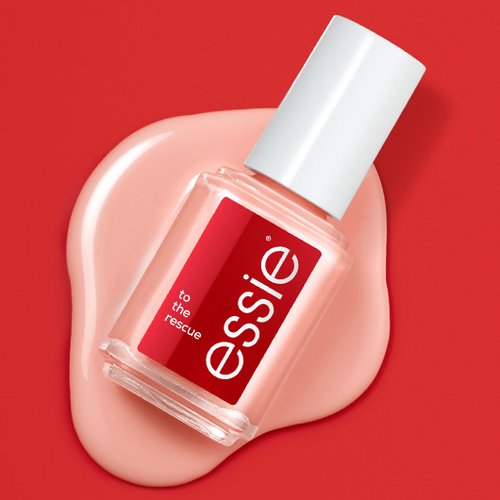
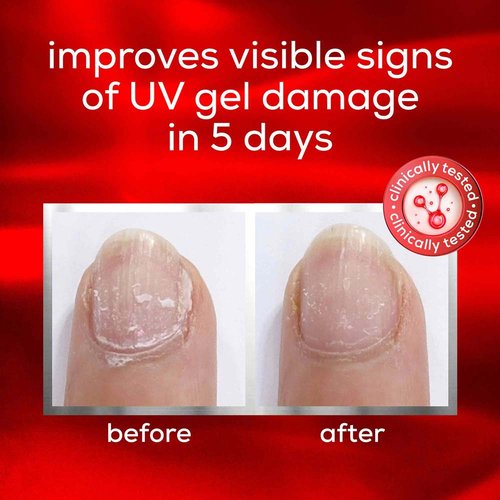
Have no fear, essie is here! When your UV gel nails need a little TLC after gel, our ‘to the rescue uv gel damage repair’ has you covered.
Powered by a protein complex and ceramides, it helps support nail renewal by sealing weak spots and reinforcing the surface layer.
You can notice a smoother, glossier finish after just five days of use – even without additional treatments. It’s one of the easiest ways to begin repairing gel nail damage while keeping your nails looking polished.
To apply our UV nail damage treatment:
- Remove old polish and clean nails thoroughly.
- Brush on a thin coat and let it dry.
- Layer up to three coats for added strength.
- Reapply after five days if needed.
Tip 2: Rehydrate your cuticles
Your cuticles are essential for nail growth. But when they dry out, they can crack – leaving your nails vulnerable to breakage and slowing recovery from UV gel damage.
Our apricot cuticle & nail oil blends apricot kernel oil, jojoba oil, and vitamin E to replenish moisture and maintain flexibility. Regular use helps prevent hangnails and keeps the skin around your nails soft, as well as giving your nails some extra strength during winter – when cold air and indoor heating can quickly dry them out.
To apply our apricot cuticle oil:
- Add a small drop to each cuticle.
- Massage gently until absorbed – think of it as a mini hand massage.
- Wait for it to soak in before washing or applying polish.
Keep it on your coffee table or in your handbag to remind yourself to reapply throughout the day!
Tip 3: Strengthen with a bonding formula
Once nails are hydrated, it’s time to build resilience. A bonding formula works like an invisible shield – protecting against peeling and daily wear.
Our hard to resist advanced nail strengthener polish features bonding technology that helps improve the look of uneven nails and create a smoother surface finish. It can also double as a base coat, adding a layer of defence and helping your nail polish last longer.
To lock in strength with a bonding formula:
- Apply a thin coat from base to tip.
- Wait to dry before adding a second layer.
- Reapply every few days to keep protection in place.
Tip 4: Take a short polish break
Sometimes, the best nail care you can give is…rest! So be sure to take one to two weeks off between gel sets to let your nails recoup their strength and replenish their natural oils.
Short breaks like this help your nails bounce back from UV gel damage – helping future manicures apply evenly and maintain their natural shine.
Tip 5: Keep them short and softly shaped
After UV gel damage, filing and trimming is a key part of the healing process.
Regular filing – about once or twice a week – keeps nails even and prevents new splits from forming. Just make sure to use a fine-grit file and work in one direction to avoid fraying. And, for best results, file after a shower when nails are softer and easier to shape.
As for trimming, here’s how to shape like a pro:
- Start with clean, dry nails.
- Trim to your preferred length.
- File from edge to centre in one smooth motion.
- Round corners slightly to prevent catching.
Tip 6: Protect from everyday dryness
Hot water, cleaning products, and harsh soaps can quickly undo your progress. These small habits help preserve your nails’ smooth texture and prevent UV gel damage from returning:
- Apply moisturiser after every wash to keep nails flexible.
- Use a rich hand cream before bed to support overnight recovery.
- Wear gloves while cleaning to protect from heat and detergents.
Now that you’ve learnt how to repair nails after gel, discover how to give them a longer break from UV gel damage with our guide to how long nails take to dry.