at home manicure

at home manicure

get the perfect at home mani
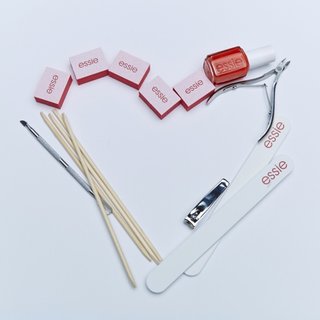
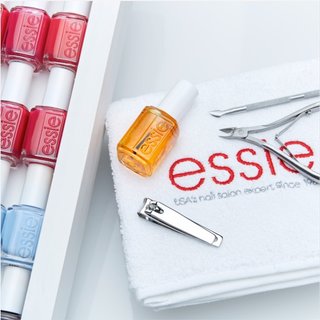

just because you’re staying inside, doesn’t mean you can’t give your nails the attention they deserve. we’ve created your complete guide to the perfect at home essie manicure. get ready for impeccable, fun and pampered nails all from the comfort of your own home. ​

what you'll need

step 1: tools

gather the tools acetone or non-acetone remover, cotton balls or pads, small nail clippers, soft file, and buffer block

step 2: choose a base coat

dry nails: reach for all-in-one which is a base AND top coat.

weak nails: reach for strong start, a color adhesive and fortifier in one.

normal nails: reach for here to stay, a smooth base that ensures lengthy wear.

ridged nails: reach for smooth-e. it fills in ridges, and also contains ceramide, to hydrate and prevent moisture loss.

base coats

step 3: choose a color

choose a color from a range of our essie shades - from original, to longwear, quick dry and 1 step strength and colorcolors

step 4: choose a top coat

dry nails: reach for all-in-one which is a base AND top coat. 

weak nails: reach for no chips ahead, its thinner consistency will bend with your nails to extend the life of your mani.

normal nails: reach for speed.setter for a fast dry, good to go for fast dry and shine in one, or matte about you for a matte effect.

ridged nails: reach for gel.setter or gel couture top coat, which are slightly thicker and smooth over nails with a glass like shine.

gel couture top coat must be used with any gel couture color.

top coats

the perfect mani step by step


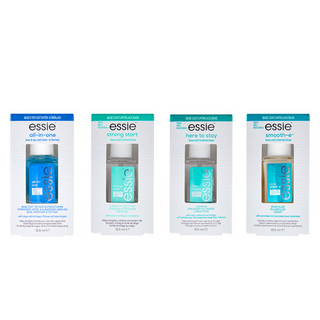
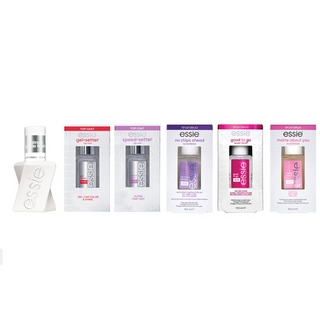
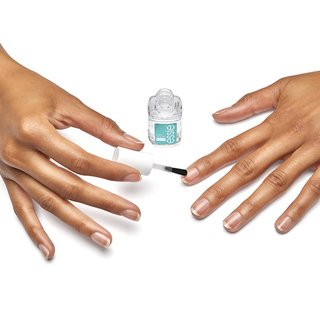
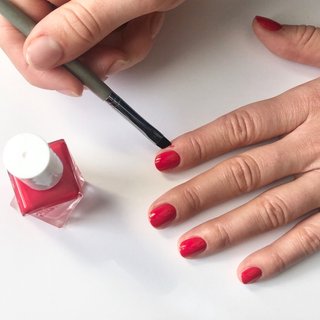
brush up on your at home mani skills with our step-by-step guide to the perfect essie mani (while you keep streaming your favorite TV series).

step 1: prep your nails

remove nail polish, wash and sanitize hands. if needed, trim the nails using small nail clippers working from one side of the nail to the other (do not clip the center first). then, file your nails in shape with a soft nail file.

step 2: apply base coat

apply base coat to clean, prepped nail. best used with your choice of essie original nail color.

step 3: apply color

apply first coat of essie color.

step 4: apply color

apply second coat of essie color.

step 5: apply top coat

apply a top coat to protect your manicure and add a glossy or matte finish.

step 6: cuticle oil
once dry, finish with cuticle oil.

essie pro tips

take matters into your own hands, with our complete guide on how to get the perfect essie manicure at home, filled with tips & tricks from our lead educator and celebrity manicurist Rita Remark.

choosing the right color product

choosing a color


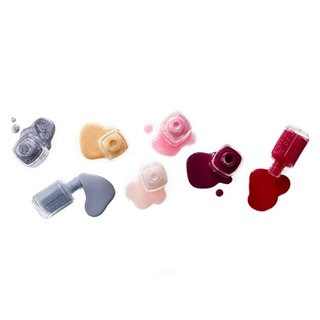
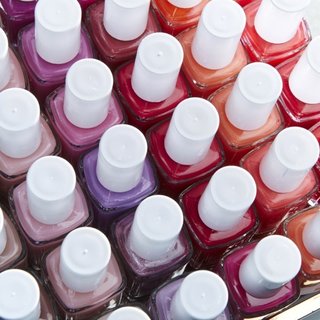
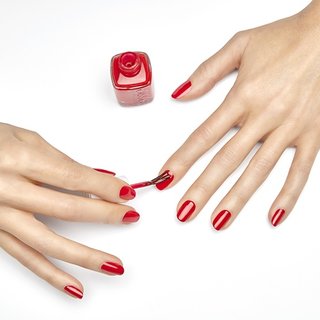
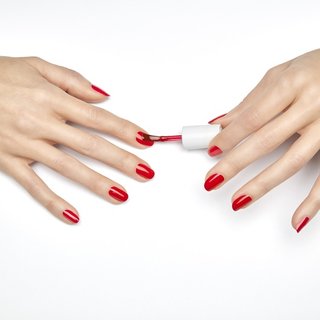
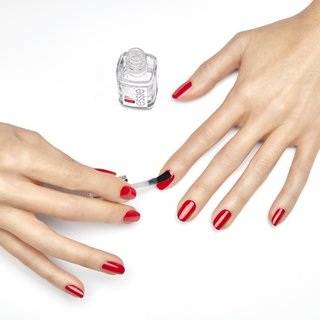
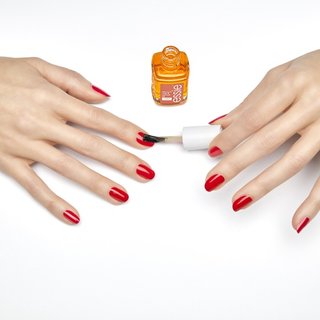
whether the mood or moment moves you, or you dive into our shade story for some extra inspiration … choosing an essie color should be fun. use your imagination, get creative and try something new. we have a variety of colors to choose from.

Rita Remark recommends her favorite essie shades for each skin tone.

how to videos


nail art stars

watch the stars align with this nail art tutorial.

nail art frames

get sharp with these angles and frame your look.

how to apply expressie

how to apply quick-dry polish on the fly with our first ever expressie angled brush.

nail art hacks


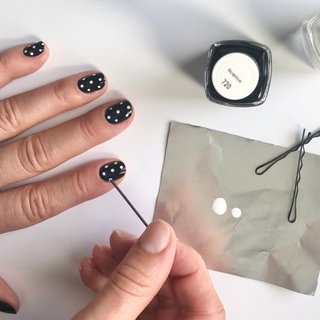
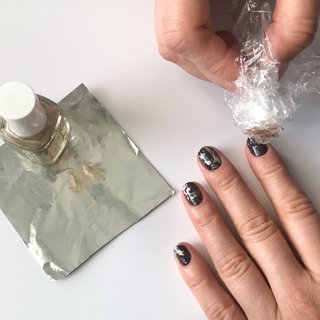
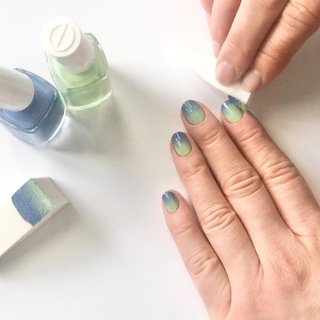
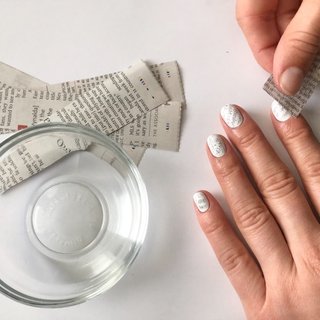
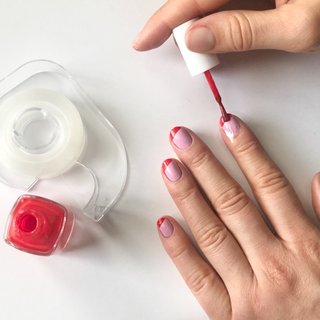
get creative and watch your DIY mani reach the next level with our at home hacks, featuring super common (yet unexpected) household accessories.

toothpick, bobby pin, or makeup brush

for polka dots - choose from a variety of tools you have at home. a toothpick creates tiny dots, the end of a bent bobby pin for medium sized dots, or the end of a make-up brush for large statement dots

cling wrap

for speckled nail art - pour a small puddle of polish onto some tin foil. scrunch up a piece of cling wrap and dip into the puddle. blot on a paper towel to remove excess, then stamp onto the nails for a speckle print.

makeup sponge

for ombre and textured nail art – apply the polish directly to the make-up sponge and lightly dab onto the nail. for a texture finish, tear the sponge and apply the polish to the textured area of the sponge. stamp onto the nail.

newspaper

for newspaper print design - cut small strips of newspaper, dip into a bowl of rubbing alcohol. use tweezers to place onto a nail with dried polish. delicately press down and remove to reveal the newspaper print! allow to dry, then finish with topcoat.

tape

for graphic nail designs - apply tape to a VERY dry base coat or polish, press firmly for an airtight seal, and polish alongside it. peel away before the polish dries.

flat angled brush

to tidy up - using an angled eyeliner or lip brushes, dip into nail polish remover and delicately wipe away any polish around the cuticle.

nail art looks


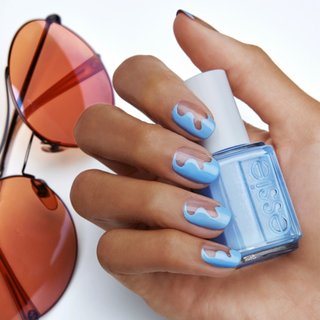
nothing says #essielove like creative and beautiful nail art looks to inspire your next mani. try these fashionable nail looks and share them with us! see more